Before programming the content in the KULUMI devices, the Datapack must be specifically prepared.
KULUMI MINI has 3 levels of navigation:
Root Folders (Top buttons), Sub Folders (Middle buttons), Files in the Sub Folders (Bottom buttons)
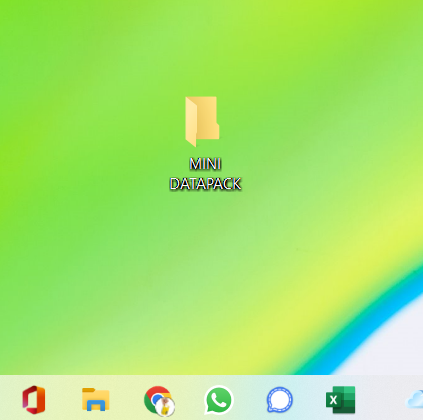
The Datapack folder is the content folder that will contain all the folders and MP3 files that you want to load into the KULUMI units. Here, it’s on desktop and named “MINI DATAPACK”
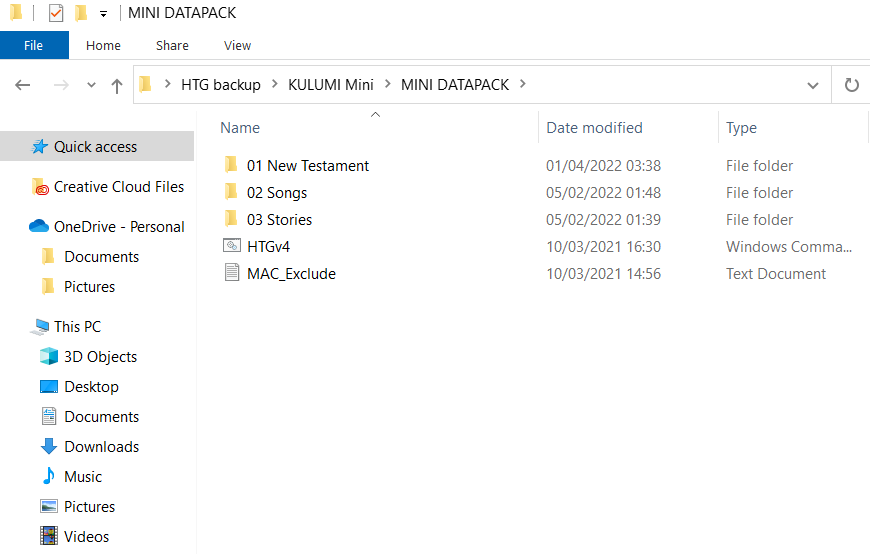
Double click on “MINI DATAPACK”. You can have as many main folders as you want. Here I only made 3 main folders (NT, Songs and Stories). Make sure to start with 01, 02, 03, 04…..10, 11 etc…. Place our HTGv4.cmd and Mac_Exclude txt files under your main folders. These 2 files will ensure that your MP3 files will be copied in the correct order. To download the cmd and txt files, click here.
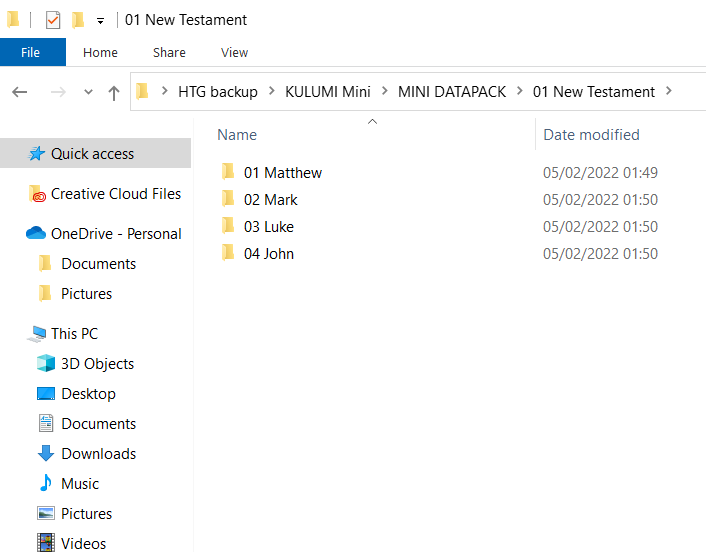
Double click on main folder “01 New Testament” and create sub-folders. Here I did only 4 (Matthew, Mark, Luke and John) You can have as many sub-folders as you want. Make sure to start with 01, 02, 03, 04…..10, 11 etc…. IMPORTANT: If you don’t make sub-folders, the audio files will not play.
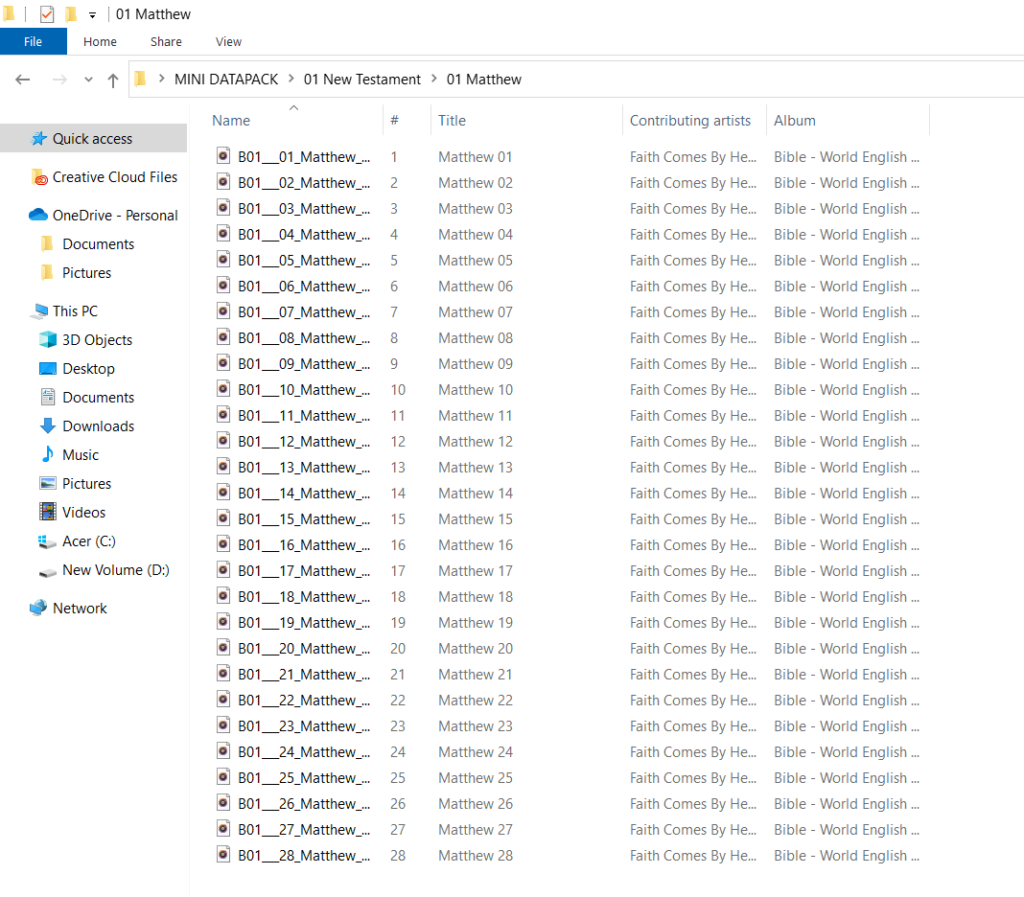
Double click on Sub-folder “01 Matthew” and paste in your MP3 files. Here I used the files from Faith comes by hearing. Do the same for the remaining sub-folders.
For instructions on how to program, click here.
The KULUMI X has 3 levels of navigation like the KULUMI MINI. Follow steps 1-4 above.
The KULUMI Sheep has 2 levels of navigation:
Folders (Buttons on rear legs)
Files (Buttons on front legs)
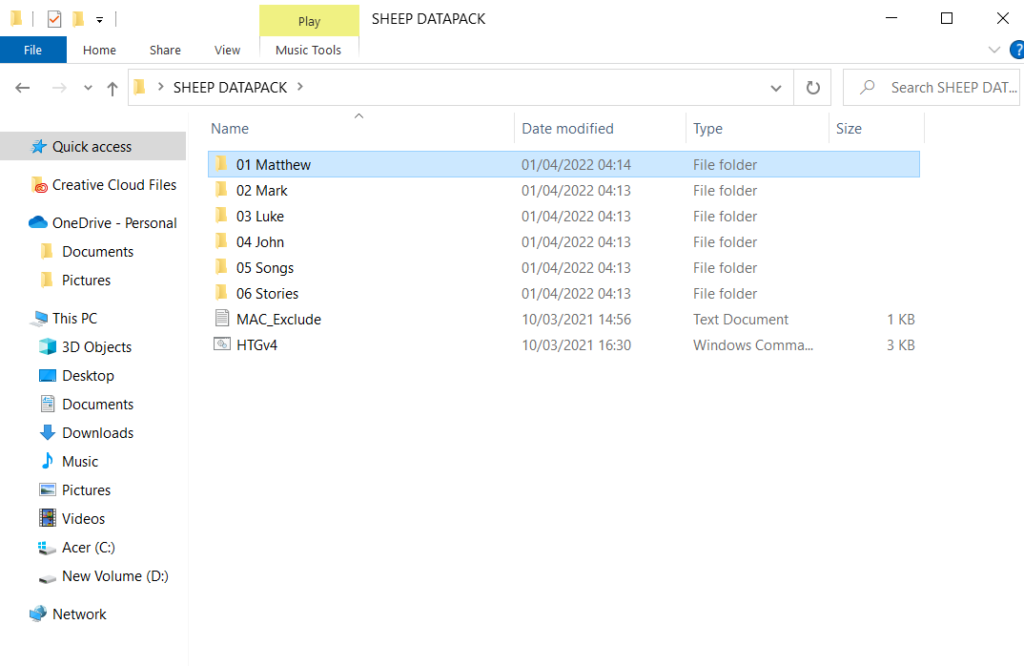
The Datapack folder is the content folder that will contain all the folders and MP3 files that you want to load into the SHEEP units. Here, it’s on desktop and named “SHEEP DATAPACK”

Double click on “SHEEP DATAPACK”. Here I made 6 folders. Place our HTGv4.cmd and Mac_Exclude.txt files right under your folders. These 2 files will ensure that your MP3 files will be copied in the correct order. To download the cmd and txt files, click here.
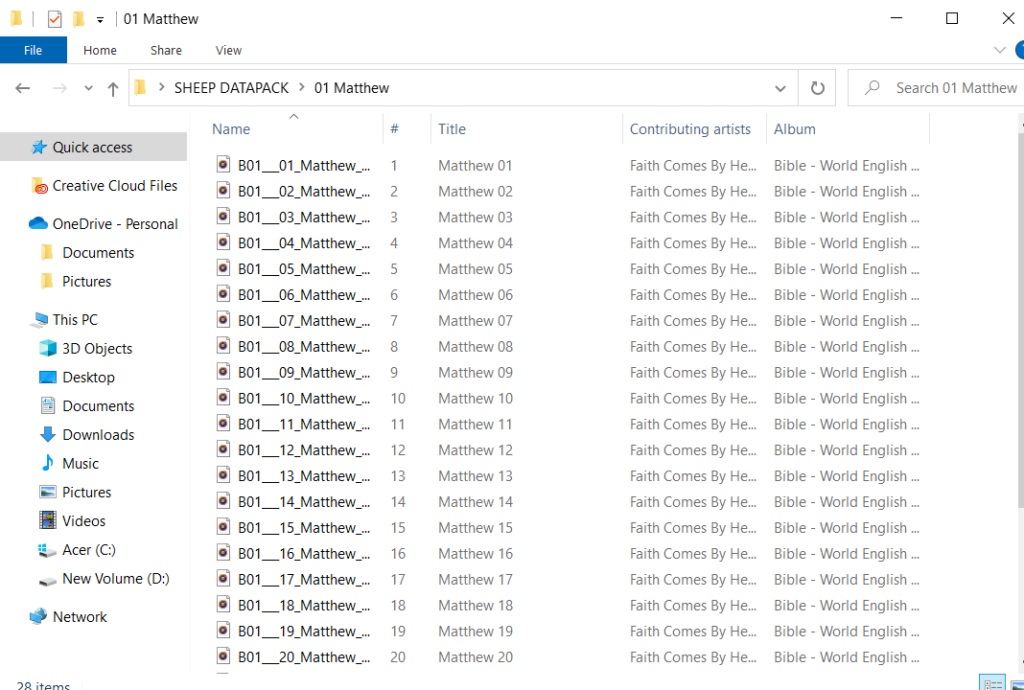
Double click on folder “01 Matthew” and paste in your MP3 files. Here I used the files from Faith comes by hearing. Do the same for the remaining folders.
For instructions on how to program, click here.